Originally posted 6-30-11.
In the past 5 years or so, Tom has really gotten to be the gardener of the family. He loves his salad garden and thankfully tolerates my pumpkins, zucchini and pepper plants. But as our garden continues to expand, we have had a hard time remembering what has been planted where...until now! If you have the same problem or know someone who does, I hope you like this fabulous idea from Caroline @ Salsa Pie as much as I do!
Make Your Own Garden Markers (a project for you and the kids!)
One of the the things I love the most about making things with children, is that if we find the right project (one that we can really love too) we discover ourselves becoming a kid again!
I love gardening, but with limited outdoor space where we live, my herb garden has become a container garden. I'm always asking my husband or children to go outside and pick some oregano for me, but they normally look at me with a puzzled stare and I realize they have no idea what "Oregano" is. The solution? Plant Markers!
If the children help make them, you can really combine an art lesson and a Horticulture lesson in one!


What You Will Need:
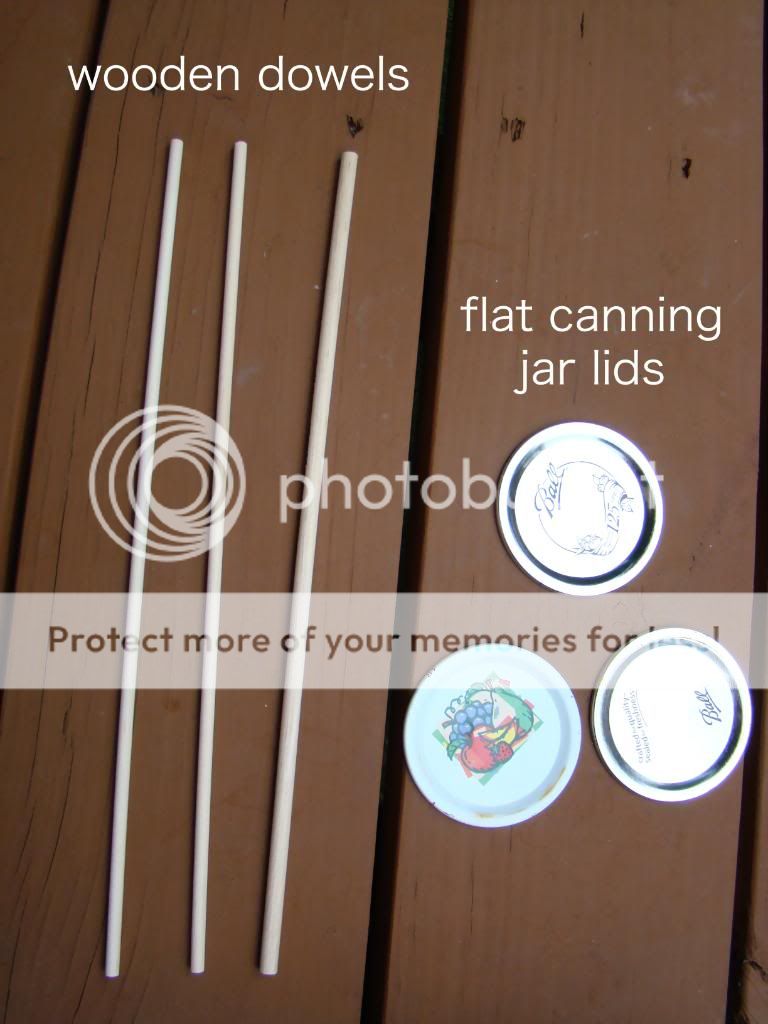
- Wooden Dowels
- Metal Jar Lids (the round part) such as "Ball"
- Tiny Pots (Sold for seed starting or crafting. Found in Craft Stores for normally under $1 each)
- Acrylic Paint or Tempera Paint
- Paint Brushes
- White Spray Paint (Optional)
- Clear Coat Spray (only optional if you use acrylic paint)
- Hot Glue Sticks and a Hot Glue Gun (For Parental Use)
- A Black Permanent Marker

Step 1:
- Optional first step: Spay the flat jar lid rounds white. I did this because I wanted the background to be white.
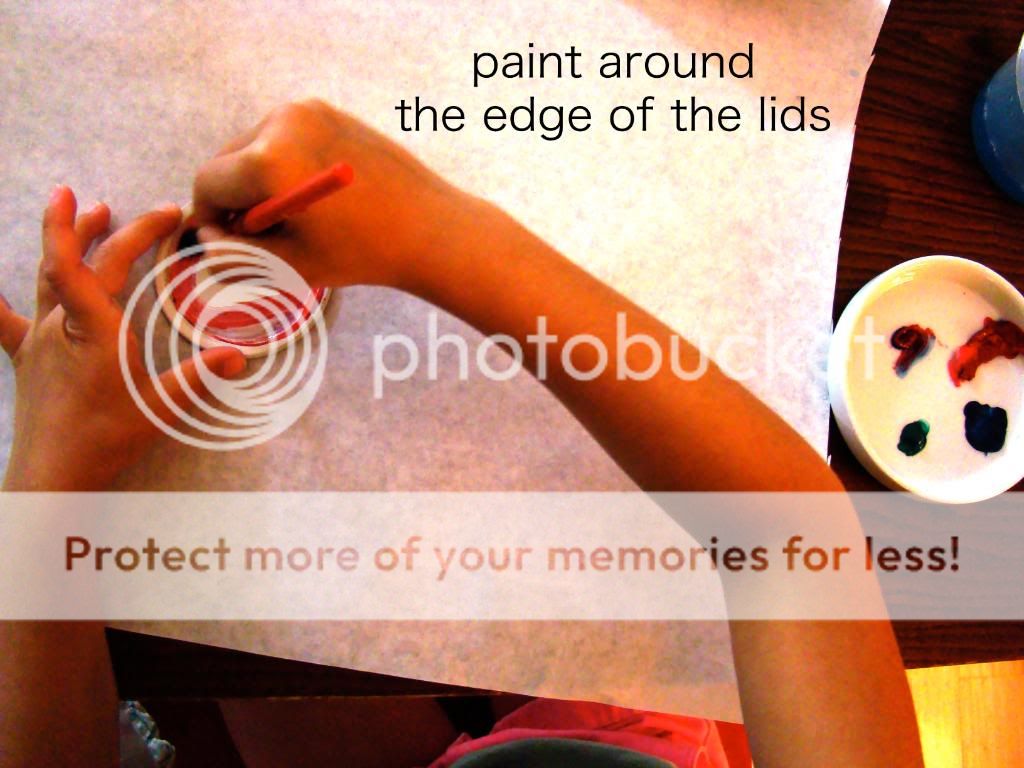
- Have your little ones Paint the lids and tiny pots. Let them go wild. If they paint in the center of the lids (where you will need to write the name of the plant, just wipe the center part clean with a rag before the paint dries. Older children can easily paint around the edges, but the younger ones might paint all over, which is fine if you use the wiping method (I did for my 2 year old). You can paint one too! I joined in on the fun and painted a lid as well.
- Once the pots and lids are painted, allow them to dry.

Step 2:
- If your children are old enough, have them to write the plant names in the center of the lids or mini pots with a permanent marker. If your children don't write well yet or are learning to write, you can help them along with this step. If you used tempera paint, you may want to apply a clear coat spray to protect from the weather
- after you write the names . We used acrylic paint. Tempera would work (although may take much longer to dry on the metal surface) but would definitely need to be sealed.

Step 3:
- Get your hit glue gun ready. Parents of young children will do this part. Older children and teens can work on this with parental guidance. Apply liberal amounts of hot glue to the top of the wood dowels and press against the inside of the base of the tiny pots. For the metal lids, apply a large glob on the back in the center and roll the dowel completely covered and sticking to the back. To further secure, apply more glue. There may be a better glue to use for affixing metal and wood or terra cotta and wood, but I am cautious about the glue fumes so I always prefer to use hit glue, even if it may not be the best option. If you have a better idea, please email me and I would love to learn!

Step 4:
- Once the glue is dry, your Garden Marker is ready for action! Have your children press each marker in the soil next to your plant. This is a great way to teach them which plant is which and to get them excited about gardening!
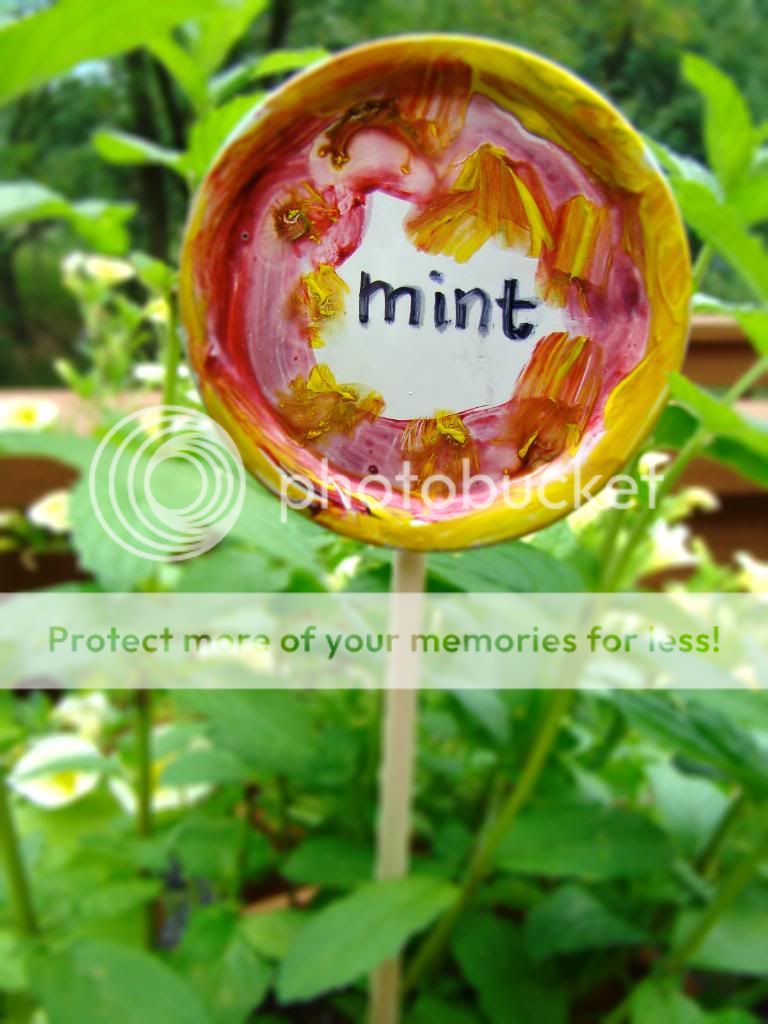

There you have it! Your Garden Markers are ready! Your garden now looks even more beautiful and your children can brag to all of the neighbors that they are budding artists and horticulturists!
Wow I love this idea - thanks. Wish my grandchildren lived closer so they could paint the lids for me.
ReplyDelete